一、安装
version: '3.9'
services:
    homeassistant:
        container_name: HomeAssistant
        privileged: true
        restart: unless-stopped
        network_mode: host
        environment:
            - PUID=0
            - PGID=0
            - TZ=Asis/Shanghai
        ports:
            - '8123:8123'
        volumes:
            - '/share/Container/HomeAssistant:/config'
        image: 'homeassistant/home-assistant:latest'
二、初始化
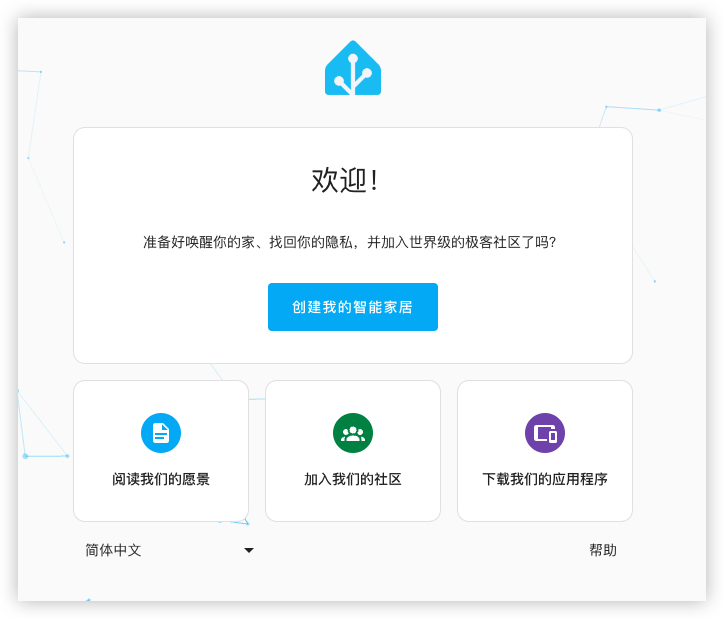
安装完成后,浏览器输入 http://IP:8123 按照提示一步一步继续操作。
三、安装 hcas
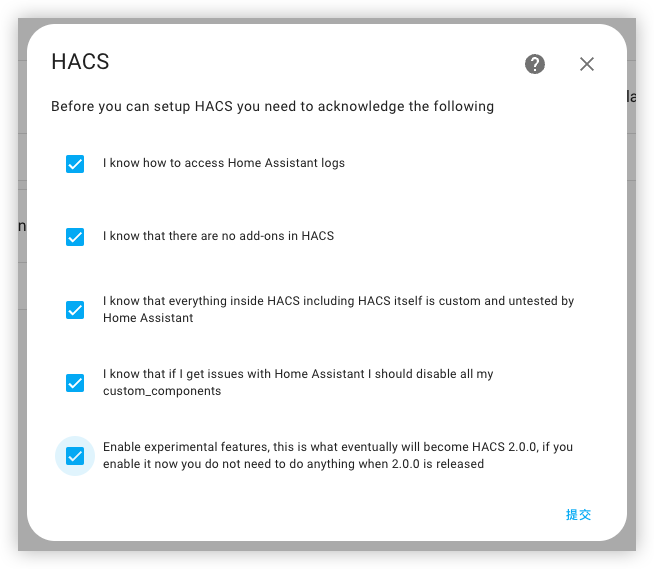
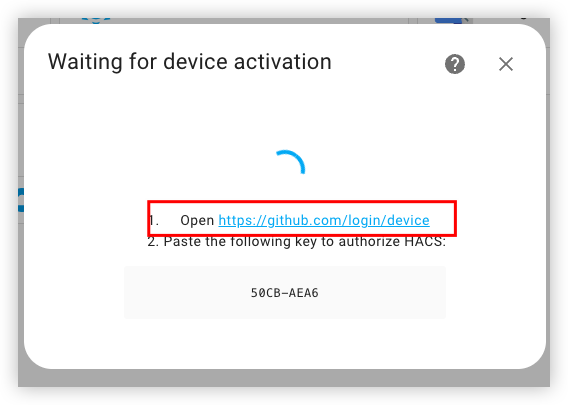
hacs 是 HomeAssistant 的一个扩展库,可以 点击这里 进入官网查看。
安装也很简单
# 宿主机SSH可以执行
docker exec -it HomeAssistant bash -c "wget -O - https://get.hacs.xyz | bash -"

# 也可以在 Hass 的 Docker的终端执行
wget -O - https://get.hacs.xyz | bash -
四、修改 configuration.yaml 文件
找到映射的 config 文件夹下 configuration.yaml 文件,用文本编辑器打开,添加一些信息,改成如下
# Loads default set of integrations. Do not remove.
default_config:

# Load frontend themes from the themes folder
frontend:
  themes: !include_dir_merge_named themes

automation: !include automations.yaml
script: !include scripts.yaml
scene: !include scenes.yaml

http: # 反代
  use_x_forwarded_for: true
  trusted_proxies:
    - 10.10.10.0/24 # Add the IP address of the proxy server
    - 10.0.3.0/24 # Add the IP address of the proxy server
    - 172.17.0.0/24 # Add the IP address of the proxy server

homekit: # homekit 苹果用户使用
修改完成,就可以重启 HomeAssistant 的 docker 了。
五、添加 hacs
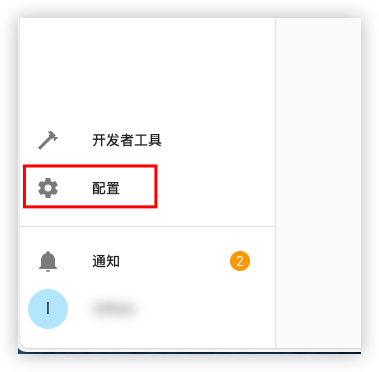
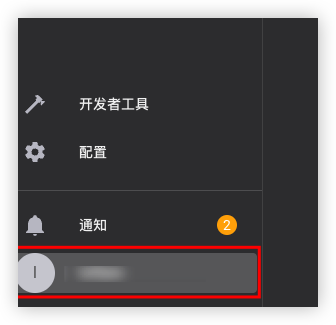
重启后,点开左下角的配置
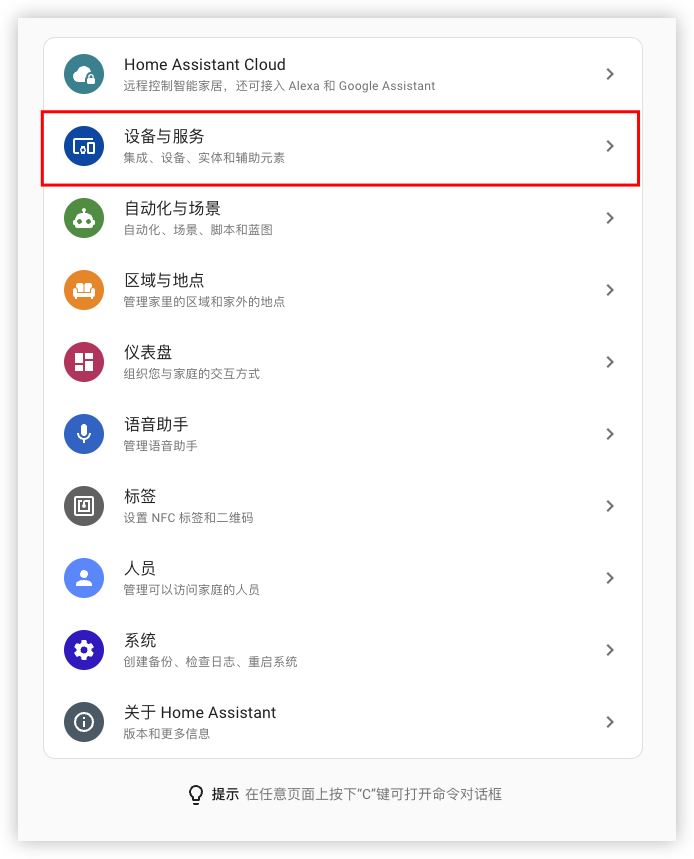
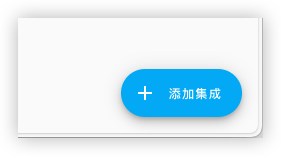
右下角
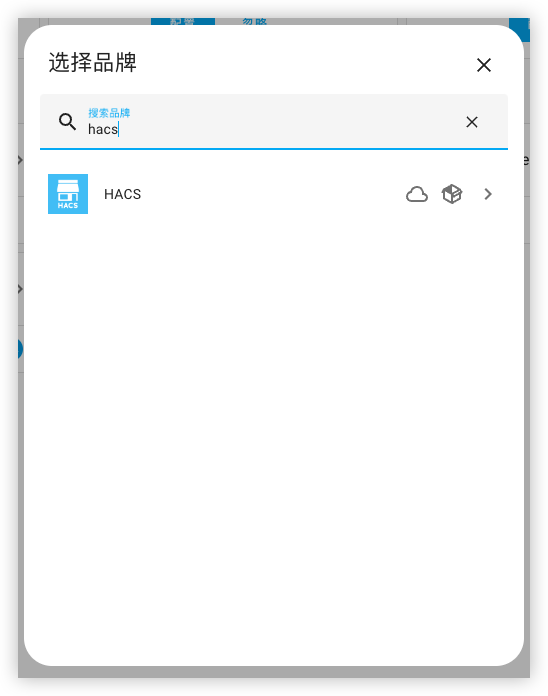
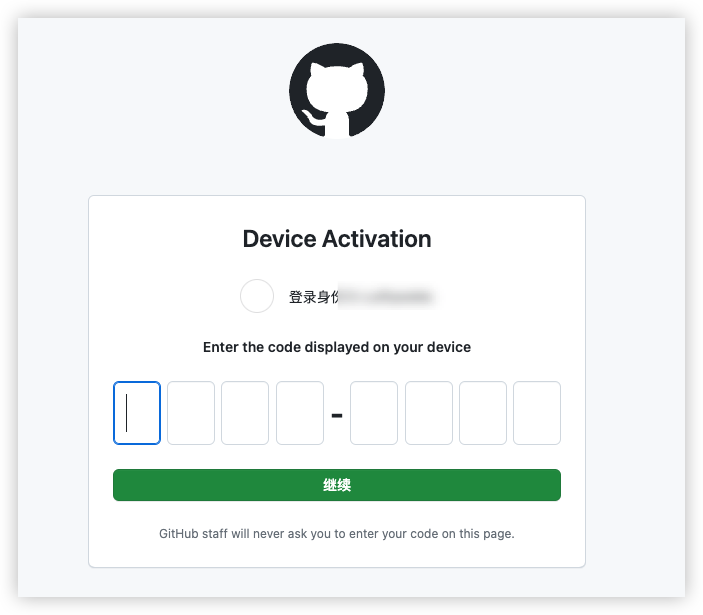
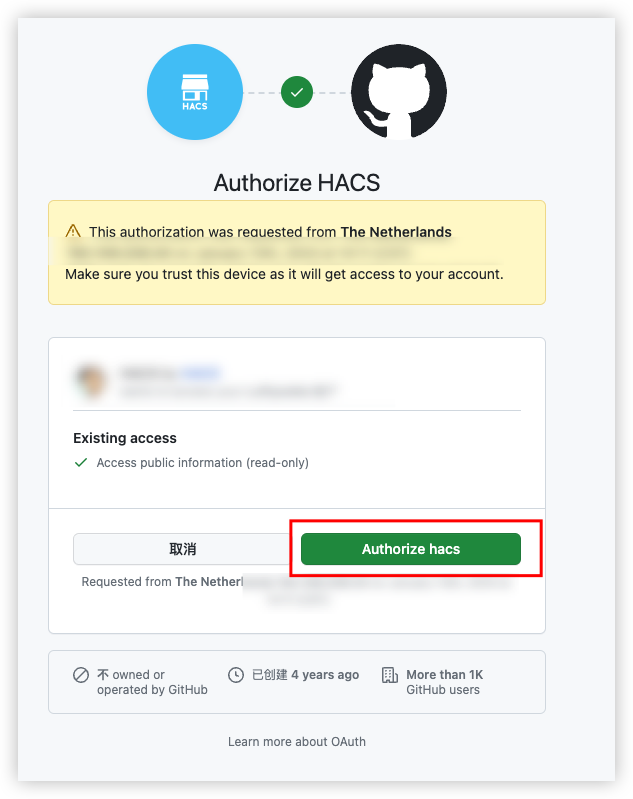
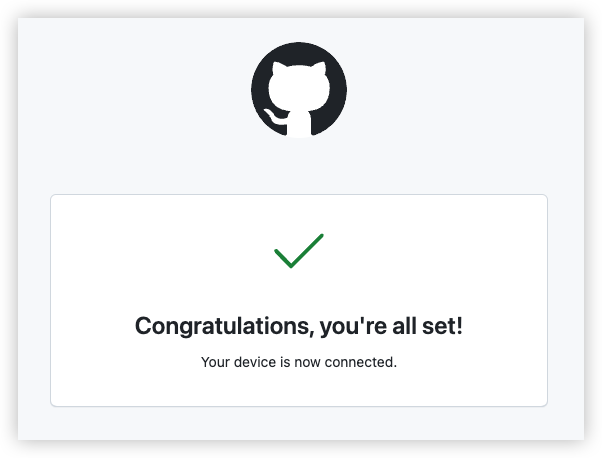
至此,左侧菜单已经出现 HACS ,可以点击安装相应的 插件、主题等等了。
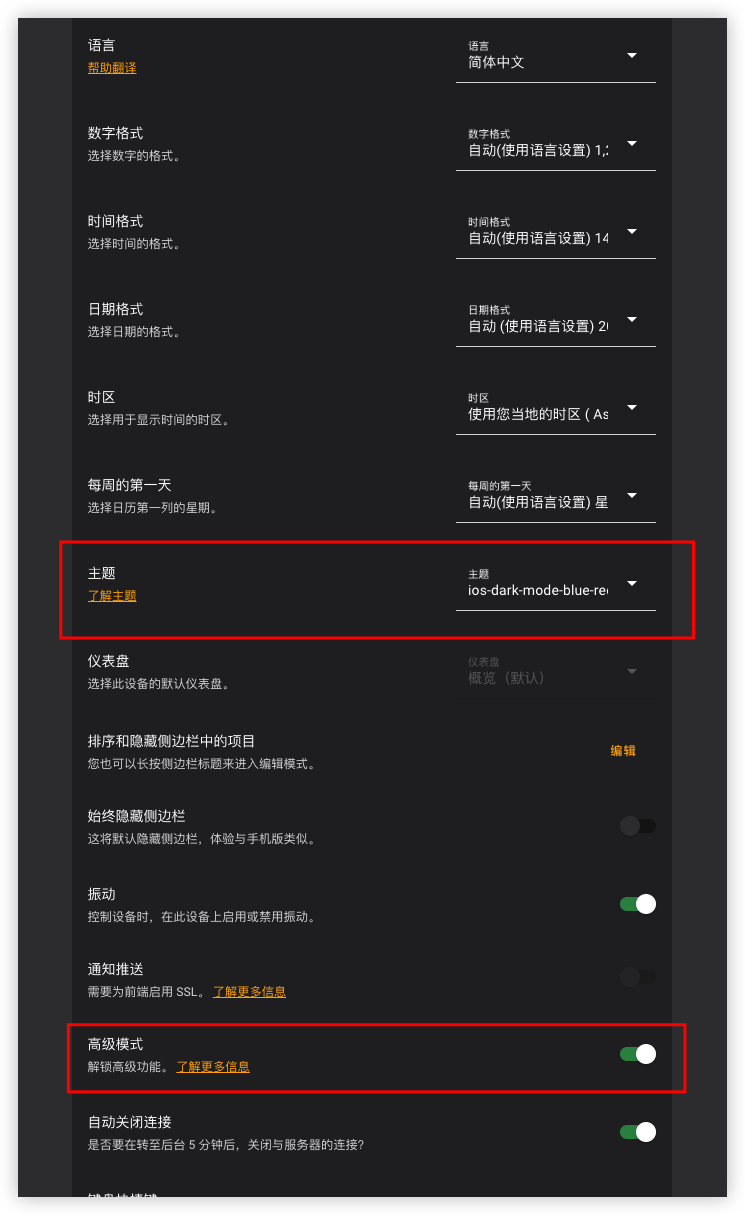
六、安装 IOS 主题,并且修复 BUG
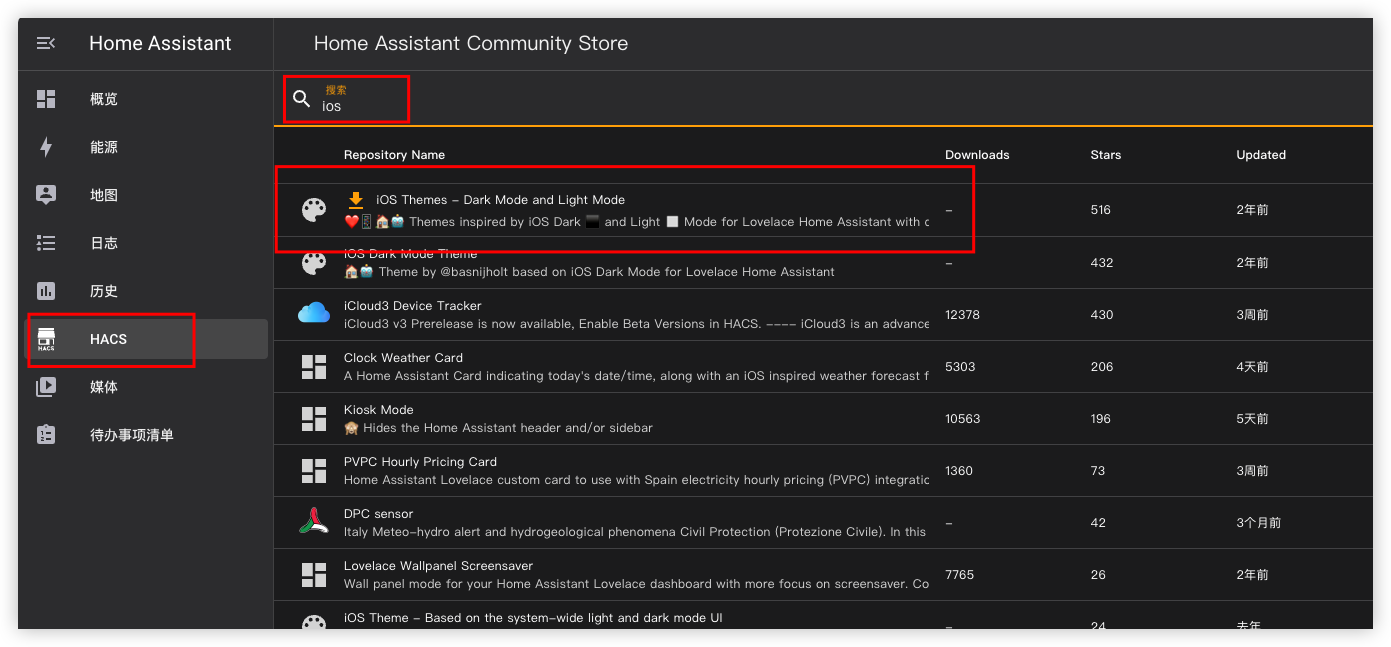
这个主题安装好了以后,主题背景因为一直没有更新,已经不能和最新的 hass 匹配,所以简单修复下。
点击下载打包好的修复文件 解压缩,覆盖到 hass 的 config 文件夹后重启即可。
七、没有自定义添加选项
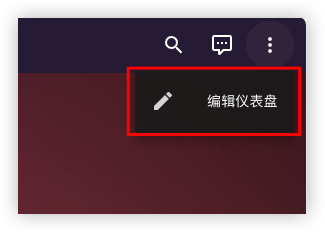
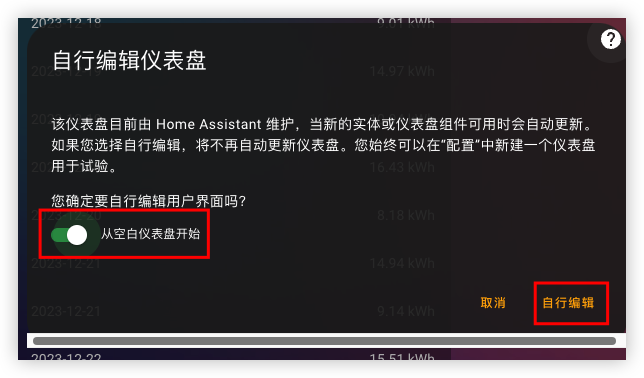
操作完成后,首页右下角就会出现添加卡片,就可以自定义添加,自定义编排组合了。